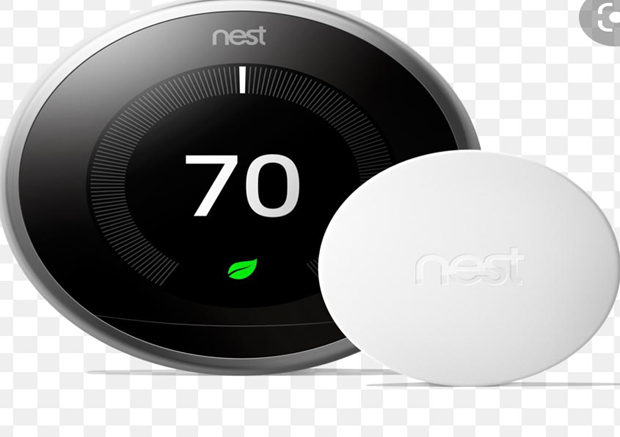
It is very simple and easy to connect your Google nest temperature sensor to your thermostat and the nest app. The installation process is also very easy but there are some things to be kept in mind before installing that where to place your sensor exactly. Following are some of the easy steps to follow to install your temperature sensor.
- Firstly you need to tap at the setting icon displayed on the home screen of the nest app.
- In the next step, you need to tap “add product”.
- Then you need to scan the QR code placed on the nest temperature sensors battery pull tab. Then this app will add the sensor to your account.
- Now you need to remove the battery pool tab.
- To associate it you need to pick a spot for your sensor and also choose a thermostat. The nest app tests the connection to make sure that you have chosen a spot that will work.
- This is the last step where you need to choose a room name for your sensor.
Where to place your sensor?
Before installing your sensor it is very important to be kept in mind the place where you want to place it. Depending upon the place where you install your sensor, the working of your system may depend a lot which also helps to use more energy to keep you comfortable. Show the best place where you can put your temperature sensor are:
- The living room and bedroom of your house are some of the places where you spend a lot of your time. Based on the temperature of your room your sensor tells your thermostat to make changes to the temperature according to the room where you are in.
- Generally, it has been found that air is cooler near the floor of the room hand warmer near the ceiling. So you should take proper care to set the temperature accordingly because if you install the sensor too low or too high, your system may overcool or overheat the room because of its wrong temperature response.
- It should be installed within a maximum of 50 meters of your thermostat so that the thermostat and sensor can be able to communicate wirelessly. Important to place them closer because the wireless connection will be lost if placed so far and the Wireless range will be reduced by floors, appliances, walls, furniture, and other electronic items.
Places where you do not place your temperature sensor:
Before placing your temperature sensor it is very important to be kept in mind the area where you should avoid placing your sensor.
- It should not be placed near heat sources like stoves, vents, or hot water pipes.
- Avoid installing it near a window no or other uninsulated surfaces like a brick wall as such places are generally warmer or cooler than the normal room.
- It should not be placed at a place where direct sunlight reaches.
- It should avoid installing at that place where the location is completely enclosed as in such place the air may not circulate properly. An example of such a location is it should not be a place behind a painting, inside a vase, in a closet, or behind a bookshelf or bunch of books.
- It should not be placed in a room that is much hotter or much cooler than the normal room temperature like the Attic or basement of your house. The different temperatures may cause your thermostat to cool or heat the rest of your home that may cause uncomfortable temperatures around your home.
How to place temperature sensors in a zoned system
Zone systems use various thermostats to control cooling and heating in various areas and floors of the home.
- If you are having a Drone system then it is important to place your temperature sensor in the same zone where the thermostat is there so that they connect properly. For example, if your thermostat controls the second floor of your home is very important to place your sensor on the same floor.
- If you place the sensor far from the reach of the thermostat zone, then the zone of your home will probably become too hot or too cold. In such a case your system may use more energy than the expected one and it may also cause to stop the system when you expect it to start.
You can also connect more than one thermostat to your sensor. But it may recommend that if you want this setup to be done then you should have one nest thermostat that helps in controlling the heating and cooling.

